• About
  • Blog
  • Classes
  • Contact
  • Cart
    • Email
    • Instagram
    • Pinterest

Colie's Kitchen

Colie's Kitchen is a professional kitchen in Logan, Utah offering cake classes and more!

  • Breakfast
  • Lunch
  • Dinner
  • Appetizers
  • Soups & Salads
  • Dessert

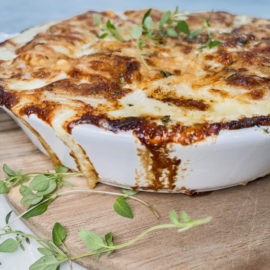
Potatoes Au Gratin

January 14, 2022 by Colie

Potatoes Au Gratin

Print Recipe Pin Recipe

Ingredients
  

  • 3 tbsp salted butter
  • 2 cloves garlic minced
  • 1 1/2 cups heavy cream
  • 1 tbsp Dijon mustard
  • 1 tsp salt
  • 1/2 tsp pepper
  • 1 cup Fontina cheese shredded
  • 3 russet potatoes peeled and thinly sliced
  • 2 cups Gruyere cheese shredded

Instructions
 

  • Preheat the oven to 350 degrees.
  • Melt the butter in a pan over medium high heat. Add the garlic and cook for a minute or so.
  • Add in the cream, mustard, salt, and pepper. Cook for a few minutes to let the temperature rise.
  • Slowly add in the shredded fontina cheese while whisking.
  • Arrange half of the thin potatoes in a baking dish. Pour half the sauce on, along with half of the Gruyere cheese.
  • Arrange the other half of potatoes on top. Pour the rest of the sauce and sprinkle the second half of the cheese on top.
  • Place the dish on a cookie sheet to catch any drippings while baking.
  • Bake for 90 minutes, or until potatoes are cooked through and cheese is bubbly.
  • Sprinkle some fresh thyme on top as a garnish.
    Enjoy!

Filed Under: Appetizers, Dinner, Lunch Tagged With: dinner, dinner recipes, dinner sides, potato, potatoes

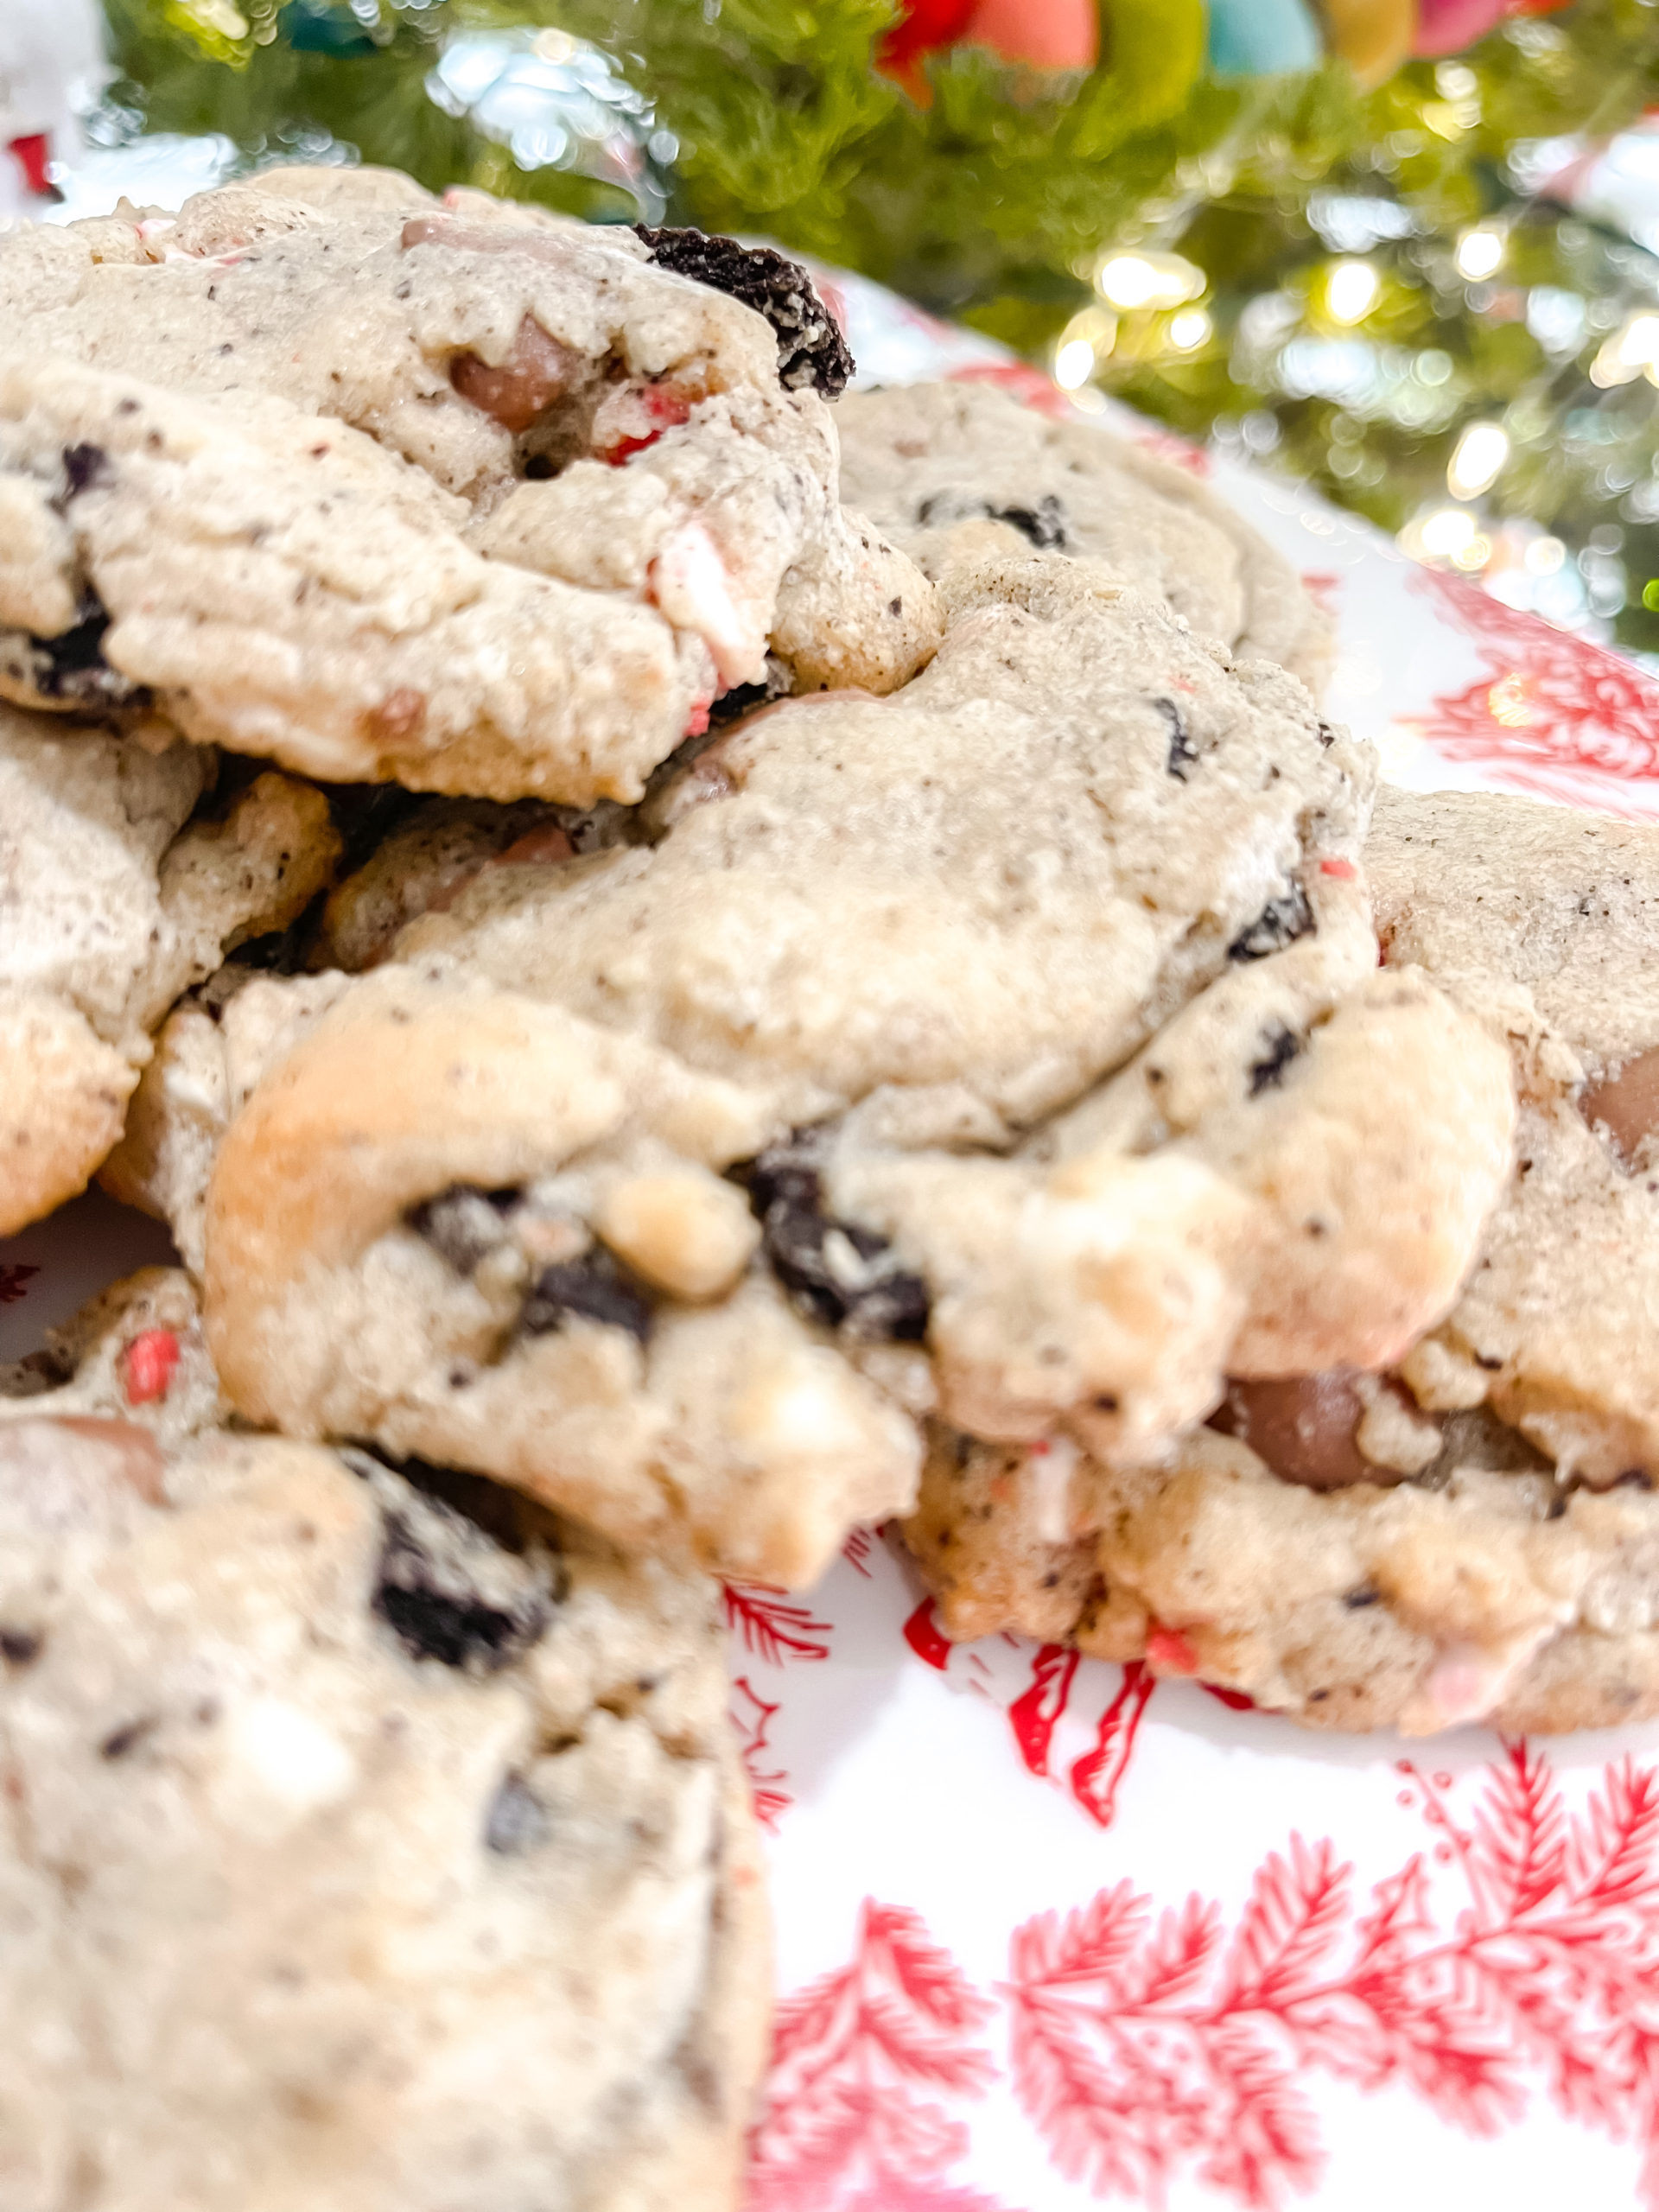
Peppermint Oreo Chocolate Chip Cookies

December 3, 2021 by Colie

Peppermint Oreo Chocolate Chip Cookies

Print Recipe Pin Recipe

Ingredients
  

  • 1 cup butter flavored Crisco
  • 3/4 cup brown sugar
  • 3/4 cup white sugar
  • 2 eggs
  • 1 tsp vanilla
  • 2 1/4 cups flour
  • 2 tbsp cocoa powder
  • 1 tsp salt
  • 1 tsp baking soda
  • 3/4 cup Oreos crushed
  • 3/4 cup peppermint bark crushed
  • 1/3 cup white chocolate chips
  • 1/3 cup milk chocolate chips

Instructions
 

  • Preheat oven to 375 degrees. Line a cookie sheet with parchment paper.
  • In the bowl of a stand mixer fitted with the paddle attachment, mix together the Crischo and sugars until combined and light in color.
  • Add in the eggs and vanilla. Mix to combine.
  • Add in flour, cocoa powder, salt, and baking soda. Mix until just combined.
  • Finally, add in Oreos, peppermint bark, and chocolate chips.
  • Scoop onto cookie sheet and press down the dough slightly. If wanted, you can sprinkle a little bit of flaky salt on top.
  • Bake for 8-10 minutes, until slightly brown around the edges, or until desired!

Filed Under: Dessert Tagged With: christmas, christmas cookies, christmas dessert, cookies, dessert

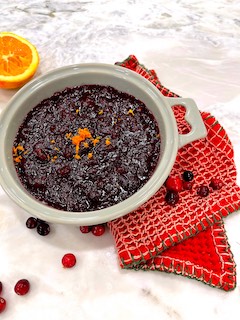
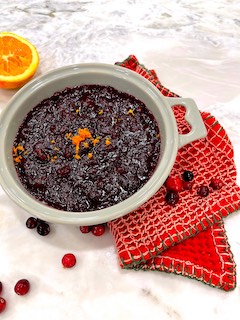
The Perfect Cranberry Sauce

November 19, 2021 by Colie

The Perfect Cranberry Sauce

Although the recipe you find on the back of the cranberry bag is quite delicious, amp it up a little with this recipe! Perfectly sweet, a little tangy, and no bitter taste at all! Your thanksgiving guests will beg you for the recipe!
Print Recipe Pin Recipe
Prep Time 5 mins
Cook Time 10 mins
Total Time 15 mins
Course Dinner, Main Course, Side Dish
Cuisine American

Ingredients
  

  • 1 bag cranberries washed
  • 1 cup water
  • 1 cup sugar
  • zest of 1 orange
  • juice of ½ an orange
  • 1½ tbsp pure maple syrup
  • 1 tsp vanilla

Instructions
 

  • Bring the water and sugar to a boil. Add in the cranberries, orange zest and juice, syrup, and vanilla. Keep at a low boil for about 10/15 minutes, stirring occasionally.
  • Once thickened, and berries have broken down, transfer to serving bowl and chill in the fridge until ready to serve.
Keyword cranberry, maple syrup, orange, thanksgiving

Filed Under: Appetizers, Dinner

Coconut Cream Pie

November 15, 2021 by Colie

Coconut Cream Pie

Print Recipe Pin Recipe

Ingredients
  

Toasted Coconut Graham Cracker Crust

  • 2 packs Honey Maid graham crackers
  • 1/3 cup powdered sugar
  • 1/4 tsp salt
  • 3/4 cup butter
  • 1 cup toasted coconut

Coconut Custard

  • 6 tbsp flour heaping
  • 2/3 cup sugar
  • 1/4 tsp salt
  • 1 3/4 cup milk
  • 3 egg yolks
  • 1 tsp vanilla or vanilla paste
  • 1/2 tsp coconut extract

Whipped Cream Topping

  • 3 cups heavy whipping cream
  • 1 cup powdered sugar
  • 2 tsp vanilla or vanilla bean paste

Instructions
 

For the crust

  • Preheat oven to 350 degrees Farenheit.
  • Pulse graham crackers, coconut, and butter in a food processor until graham crackers and coconut are finely ground, then press evenly onto bottom and sides of pie dish.
  • Bake in middle of the oven until golden, about 16 minutes, then cool completely in pan on a rack.

For the custard

  • Combine first four ingredients in a saucepan. Let cook for 15 minutes, or until starch has cooked out.
  • Temper in eggs and coconut extract. Cook for 3 minutes stirring continuously until thickened.
  • Refrigerate until cool. Whip to soften before adding whipped cream.
  • Fold in about 1/3 whipped cream and spread into cooled crust.

For the whipped topping

  • In the bowl of a stand mixer, fitted with a whisk attachment, whip all ingredients until stiff peaks form.
  • Top the pie with the remaining whipped topping and toasted coconut.

Filed Under: Dessert Tagged With: coconut, desserts, pie, pie recipe, thanksgiving

Chocolate Silk Pie

November 6, 2021 by Colie

If you are looking for a show stopping dessert, look no further! Every element of this pie is the definition of comfort. The slightly salted chocolate graham cracker crust, a not too rich and oh so silky chocolate filling, piled high with fresh homemade vanilla whipped cream. People will be talking about your pie for weeks. Enjoy!

Chocolate Silk Pie

If you are looking for a show stopping dessert, look no further! Every element of this pie is the definition of comfort. The slightly salted chocolate graham cracker crust, a not too rich and oh so silky chocolate filling, piled high with fresh homemade vanilla whipped cream. People will be talking about your pie for weeks. Enjoy!
Print Recipe Pin Recipe
Prep Time 3 hrs
Cook Time 20 mins
Total Time 3 hrs 20 mins
Course Dessert
Cuisine American

Ingredients
  

For the Crust

  • 2 packs original graham crackers honey made are my fav
  • 2 tbsp cocoa powder
  • ¾ tsp salt
  • ⅓ cup powdered sugar
  • ¾ cup melted butter i like using salted

For the chocolate silk filling

  • ¾ cup sugar
  • 3 ½ tbsp cornstarch
  • pinch salt
  • 2 cups milk higher fat content, the creamier it will be
  • ½ cup heavy whipping cream
  • 4 egg yolks whisked together in a medium bowl
  • 2 tbsp butter
  • 2 tsp vanilla i use blue cattle truck mexican vanilla
  • 3 oz milk chocolate chips
  • 3 oz semi sweet chocolate chips

For the vanilla whipped cream

  • 2 cups heavy whipping cream
  • 1 cup powdered sugar
  • 2 tsp vanilla or vanilla bean paste

Instructions
 

For the crust

  • Preheat oven to 350. Crush graham crackers in a food processor, or crush graham crackers in a ziplock bag with a rolling pin.
  • In a bowl, mix in the dry ingredients and then stir in the melted butter until it forms a damp sand texture.
  • Press firm into a pie plate and bake for 15-20 minutes. Let cool until ready to fill. 

For the chocolate silk filling

  • It’s important to have all ingredients measured and ready so when it’s time to add, you don’t have to step away from stirring.
  • In a medium sauce pan, add the sugar, cornstarch, and salt. Sift together by stirring with a whisk. Whisk in milk and heavy cream. Turn heat to medium. Keep stirring for about 5 minutes so the temperature can rise- don’t let boil. 
  • Once hot, temper the eggs by slowly adding some of the hot milk mixture to the yolks. Whisk eggs as you pour hot mixture in. Add tempered eggs into the pan with the rest of the milk. Keep stirring!! Never step away from the pan or your eggs will curdle.
  • Keep stirring and cooking over medium heat for about 10-15 more minutes until thick. Add in the butter and stir until melted.
  • Add in the vanilla and chocolate chips until chocolate is fully melted. Mixture should be like a pudding. Do not over cook. 
  • Pour chocolate filling into graham cracker crust and put in fridge for at least 2 hours. Preferably overnight! (It’s better the second day!) 

For the vanilla whipped cream

  • Combine cream and powdered sugar into the bowl of a stand mixer, fitted with the whisk attachment. Add in the vanilla. Mix until stiff peaks are formed. 
  • Pile cream high on the now COMPLETELY chilled chocolate pie. Top with sifted cocoa powder, or chocolate shavings. Enjoy! 

Notes

It’s important to never step away from the chocolate filling. Keep the heat on medium, don’t get impatient and turn it too high. Your the eggs in the chocolate mixture will curdle. 
The crust does have more of a salt flavor in it than usual crusts, I love it! And many others love it! But if you think you’d rather a sweeter crust, half the salt, or just skip it all together! It will still be delicious! I do encourage you to try it my way though!
 
Chill in the fridge until ready to eat. Don’t top the hot chocolate mixture with whipped cream. Wait until it has chilled completely! You will love this pie! 
Keyword chocolate, dessert, graham cracker, pie, thanksgiving
View this post on Instagram

A post shared by Nichole Jean Needham (@colies.kitchen)

Filed Under: Dessert

Pumpkin Chocolate Chip Whoopie Pies with Browned Butter Cream Cheese Frosting

October 25, 2021 by Colie

Pumpkin Chocolate Chip Whoopie Pies with Browned Butter Cream Cheese Frosting

These whoopie pies are the perfect autumn dessert. Whether it's for Halloween, Thanksgiving, or just taking treats to a friend, it's the perfect way to make someone feel cozy. The taste of the browned butter in the frosting is unmatched — I think you'll love it! Enjoy!
Print Recipe Pin Recipe

Ingredients
  

Pumpkin Chocolate Chip Cookies

  • 3 cups flour
  • 1 tsp salt
  • 1 tsp baking soda
  • 1 tsp baking powder
  • 2 tbsp cinnamon
  • 1/2 tsp ground cloves
  • 1/2 tsp ground ginger
  • 1 1/2 cups brown sugar packed
  • 1/2 cup sugar
  • 1 cup vegetable oil
  • 2 eggs
  • 3 cups pumpkin purée
  • 2 tsp vanilla
  • 1 tbsp molasses
  • 1 cup mini chocolate chips

Browned Butter Cream Cheese Frosting

  • 16 oz cream cheese slightly softened
  • 2 sticks salted butter divided
  • 7-8 cups powdered sugar
  • 1 1/2 tsp vanilla

Instructions
 

For the cookies

  • Preheat oven to 350. Line baking sheet with parchment paper.
  • In a medium sized bowl, mix together flour, salt, baking powder, baking soda, and spices. Set aside.
  • In the bowl of a stand mixer, fitted with a paddle attachment, combine the sugars and oil. Mix until fully combined. Mix in eggs, pumpkin, vanilla, and molasses.
  • Slowly add dry ingredients into wet. Mix until no streaks of flour show. Fold in chocolate chips.
  • Scoop with cookie scooper onto baking sheet and bake for 10-13 minutes or until toothpick comes out clean.

For the browned butter cream cheese frosting

  • Melt one of the sticks of butter in a small pan over medium high heat. Keep stirring until butter is browned. Make sure you watch it closely; browned butter can quickly turn into burned butter! Once browned, set in the fridge to cool.
  • Once butter is cooled:
    In a stand mixer, mix together the cream cheese and remaining stick of butter until there are no more clumps. Add the powdered sugar one cup at a time, alternating with splashes of browned butter and ending with powdered sugar. Add vanilla.
  • If it seems too wet, add more sugar. If it is too dry, add a splash of heavy cream or milk to loosen it up.

Video

View this post on Instagram

A post shared by Nichole Jean Needham (@colies.kitchen)

Filed Under: Dessert Tagged With: browned butter, cookies, dessert, fall dessert, pumpkin

Butternut squash pasta with caramelized onion, browned butter sauce

October 13, 2021 by Colie

Butternut squash pasta with caramelized onion, browned butter sauce

This dish goes perfectly with a crisp autumn night, fresh baked bread, and apple cider. The full fall package! The slight sweetness of the sauce, compliments the butternut squash! Top it all off with walnuts and fresh parmesan…it doesn’t get better!
Print Recipe Pin Recipe
Prep Time 15 mins
Cook Time 45 mins
Total Time 1 hr
Course Dinner, Main Course
Cuisine Italian
Servings 6

Ingredients
  

For the roasted squash

  • 1 small butternut squash peeled and cubed
  • 1/4 cup olive oil
  • Salt and pepper to taste

For the caramelized onion browned butter sauce

  • 1-2 tbsp olive oil
  • 1 small sweet onion diced into small pieces
  • 3 garlic cloves minced
  • 1/2-1 tsp ground nutmeg
  • 2 tsp ground sage
  • 1/4 cup brown sugar
  • Salt and pepper to taste
  • 1 cup (2 sticks) butter (I like the Tilamook Sea Salt Extra Creamy butter)
  • 10-15 fresh sage leaves
  • 16 oz bow tie pasta (or pasta of choice)

Garnish

  • Parmesan cheese freshly grated
  • Walnuts (pine nuts, pumpkin seeds, or pecans work great as well)

Instructions
 

For the squash

  • Preheat your oven to 450. If your oven has a roast option, select that setting! Line a baking sheet with tinfoil, spray with cooking spray.
    In a medium bowl, whisk together the oil, brown sugar, and salt and pepper. Toss cubed squash into mixture. Spread out on prepared pan, and roast for 30-45 minutes. You want the squash to be tender and have some darkness around the edges. 
    In a medium pot, boil the pasta until al dente. Leave in water until ready to add to sauce. 

For the sauce

  • Cook the onion and garlic in the olive oil in a large skillet. Cook until onions are soft and translucent. About 10-15 minutes on medium-low heat. Stirring frequently. Turn heat to low. Add in nutmeg, rubbed sage, brown sugar, and salt and pepper. Stir with a whisk and keep heat on low. You don’t want the brown sugar to harden so keep stirring! Once the onion mixture is slightly boiling, add in butter. Whisk until butter is melted. Turn heat up to medium and keep stirring for 5 minutes. Mixture should be at a slight boil, don’t stop whisking. Add in fresh sage leaves and let cook for a few minutes. 
    If the sauce seems too thick, add a little pasta water to loosen it up. 
    Add noodles and squash to the sauce and toss. Too with Parmesan cheese and walnuts. 
    Enjoy! 
Keyword browned butter, butternut squash, comfort, pasta
Print Recipe

Filed Under: Dinner

4 Cheese Bruschetta Dip

June 3, 2021 by Colie

4 Cheese Bruschetta Dip

Taking a classic Italian restaurant appetizer, and turning it into something unique! This appetizer will be the hit of your next gathering!
Print Recipe Pin Recipe
Prep Time 20 mins
Cook Time 15 mins
Total Time 35 mins
Course Appetizer, Dinner, Salad, Side Dish, Snack
Cuisine Italian

Ingredients
  

For the Marinated Tomato Mix

  • 1 tbsp olive oil
  • 2 cloves garlic minced
  • ½ cup red wine vinegar
  • ¼ cup sugar
  • 1 tsp salt
  • ½ tsp onion salt
  • 1 tsp garlic salt
  • 1 tbsp oregano
  • 1½ cups cherry tomatoes halved or quartered
  • 1-2 tbsp fresh basil finely chopped

For the Cheese Mixture

  • 1 cup ricotta cheese
  • 4 oz chream cheese
  • ½ cup grated parmesan cheese
  • ½ cup shredded mozzarella cheese or any shredded cheese of your choice
  • 1 tsp garlic salt
  • 1 tsp onion salt
  • 2 tsp oregano
  • ½ tsp salt

For the Toasted Garlic Baguettes

  • 1-2 Baguettes sliced
  • garlic butter spread

Instructions
 

For the Marinated Tomato Mix

  • In a small pot, ccook the garlic in the olive oil for 3-5 minutes, or until fragrant. Add the red wine vinegar and sugar. Bring to a soft boil, turn down heat to simmer and add spices. Sugar should be completely dissolved.
  • Pour marinade over sliced tomatoes and chopped basil. Toss to coat, then let chill in the fridge while making cheese mixture.

For the Cheese Mixture

  • In a food processor, or a bowl with a hand mixer, combine all the cheeses and spices until smooth.
  • Spread cheese in a shallow serving dish. Using a slotted spoon to drain out any extra liquid, spoon tomatoes all over cheese. Try to avoid too much juice, the flavor will be strong enough with just the tomatoes.
  • Save tomato marinade for baguettes!

For the Toasted Garlic Baguettes

  • Place baguette slices all over a baking sheet. Spread garlic butter on both sides of the slice.
  • With oven on broil setting, toast baguettes until they start to brown on the edges. Take out of the oven, flip all of the slices, and continue to broil.
  • Watch them closely to make sure they dont burn. They should be crispy when you take them out.
Keyword baguette, basil, bruschetta, tomato

Filed Under: Appetizers

Lemon Coconut Cake

April 28, 2021 by Colie

Lemon Coconut Cake

Perfectly sweet coconut cake layers, with a smooth lemon curd, all held together with a light lemon buttercream and decorated with white chocolate coconut ganache and shredded coconut!
Print Recipe Pin Recipe
Prep Time 10 mins
Cook Time 20 mins
Total Time 30 mins
Course Dessert
Cuisine American
Servings 15 +

Ingredients
  

For the Cake Layers

  • 3 ¼ cups flour
  • 3 cups sugar
  • 2 ½ tsp baking powder
  • 1 tsp salt
  • 1 cup butter 2 sticks
  • 1 cup egg whites about 7 eggs worth
  • 1 ½ cup buttermilk
  • ⅛ cup vegetable oil
  • ⅓ cup cream of coconut
  • 1 tsp vanilla
  • 1½ tsp coconut extract

For the Lemon Curd (from Paula Deen)

  • 1 cup sugar
  • ¼ cup cornstarch
  • 1 cup fresh lemon juice
  • 4 large egg yolks
  • ½ cup butter 1 stick, cubed and softened

For the Lemon Buttercream

  • 4 sticks butter softened
  • 7-8 cups powdered sugar
  • 3-5 tbsp heavy whipping cream
  • 1 tsp salt
  • 1 tsp vanilla
  • 2-3 tbsp fresh lemon juice
  • 1-2 tsp fresh lemon zest

For the White Chocolate Coconut Ganache

  • 1½ cup white chocolate chips
  • ¼-½ cup heavy whipping cream (or more, depending on thickness)
  • 2 tbsp cream of coconut
  • 1 tsp coconut extract

Toppings

  • fresh coconut
  • toasted coconut
  • fresh lemon slices, or lemon sour candies for decoration

Instructions
 

For the Coconut Cake Layers

  • Pre heat oven to 350°. Spray and line 3, 8" cake pans. Set aside.
  • In the bowl of a stand mixer, combine flour, sugar, baking powder, and salt. Mix in softened butter until no large pieces are left and mixture is like a crumbly sand.
  • Mix in egg whites until just combined. Slowly, add in half of the buttermilk, mix, then add in the rest, along with the oil, vanilla, coconut extract, and cream of coconut.
  • Mix until JUST combine. Then turn mixer speed up to high and let whip for abpout 15 seconds. Mixture should be light and fluffy.
  • Evenly distribute batter into each pan. Bake for about 15 minutes, check, and add more time if needed. Cake should not be wobbly, and a toothpick should come out clean.
  • Let cakes cool in their pan for about 10 minutes, then turn onto a cooling wire rack. Let cool completely before frosting. I even like to make mine a day or two before, wrap them in cling wrap, and freeze them!

For the Lemon Curd

  • in a large sauce pan, whisk together the sugar and cornstarch. Whisk in lemon juice until cornstarch is dissolved and mixture is smooth. Cook over medium heat, whisking constantly, until mixture is hot.
  • In a medium bowl, whisk egg yolks together. Whisking constantly, slowly add one-fourth of the hot lemon mixture to yolks, to temper. Whisk egg mixture into lemon mixture, and cook, whisking constantly, until thickened, 10-12 minutes. Remove from heat, and whisk in butter, a few pieces at a time, until melted and smooth. Pour mixture into a large bowl, and cover with plastic wrap, pressing wrap directly onto surface to prevent skin forming. Refrigerate until thickened and cold, about 4 hours or up to 3 days.

For the Lemon Buttercream

  • In the bowl of a stand mixer, whip butter until fluffy, about 3-5 minutes. Slowly add the powdered sugar one cup at a time, adding small splashes of heavy cream in between. Once all powdered sugar is added, and mixture is smooth, add lemon juice, lemon zest, salt, and vanilla. Whip it up to combine. Frosting might need some more powdered sugar, so keep some on hand.

For the White Chocolate Coconut Ganache

  • In a medium bowl, combine all ingredients, starting slightly lower on the heavy cream. Microwave in incriments of 30 seconds, stirring well in between. If it seems too thick, add more heavy cream. Mixture should be creamy.
Keyword cake, coconut, curd, lemon

Filed Under: Dessert

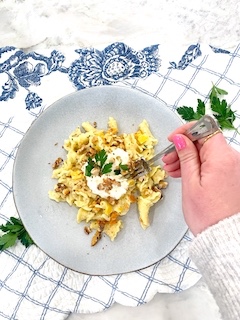
Sweet Pepper Pasta with Whipped Ricotta

March 7, 2021 by Colie

Sweet Pepper Pasta with Whipped Ricotta

Cheesy, sweet, savory, creamy, and all things DELICIOUS! Easy to make which makes it even better!
Print Recipe Pin Recipe
Prep Time 15 mins
Cook Time 20 mins
Total Time 35 mins
Course Dinner
Cuisine Italian, Swiss
Servings 6

Ingredients
  

  • 12 oz campanelle pasta or whatever kind of pasta you want

For the creamy pepper sauce

  • 2 tbsp olive oil
  • 1 whole yellow bell pepper chopped into small bite size squares
  • 1 whole orange bell pepper chopped into small bite size squares
  • 1 large shallot peeled and chopped into small pieces
  • 3 large garlic cloves minced
  • 2 tbsp butter
  • salt and pepper to taste
  • 2 oz cream cheese
  • 2 cups milk separated
  • ¾ cup le gruyere cheese shredded
  • ¾ cup baby swiss cheese shredded
  • 1 tbsp flour
  • 1 tsp dry oregano leaves
  • 1 tsp dry basil leaves
  • 1 tsp onion salt
  • ¼ cup fresh Italian parsley chopped into small pieces

For the whipped ricotta

  • 1 cup ricotta cheese
  • ¼ cup shredded parmesan cheese
  • 3 tbsp honey
  • 1 tsp garlic powder

Garnishes

  • toasted walnuts chopped
  • fresh Italian parsley

Instructions
 

  • Cook the noodles as instructed on packaging until completely done. Drain, and set aside.

For the Sauce

  • In a large skillet, heat the olive oil over medium high heat. Add in peppers, shallots, and garlic. Cook for about 5 min. Add in the butter and continue to cook until peppers are VERY tender, or cooked to your liking. Season with salt and pepper.
  • Add in cream cheese and 1 ½ cups of the milk. Whisk until cream cheese is melted. Let cook for a few more minutes so the temp can rise.
  • SLOWLY sprinkle in the cheese WHILE whisking. Keep whisking until cheese is eventually all added in. If the mixture is stringy, add in more milk. Keep stirring until cheese is no longer stringy. Whisk in the flour. That should thicken the sauce just enough to coat the noodles.
  • Add in dry oregano, dry basil, onion salt, and fresh italian parsley. Taste, and season with salt and pepper as needed.
  • Once the sauce is all done, stir in the noodles. simmer on low while making your whipped ricotta.

For the whipped ricotta

  • In a food processor, add in all ingredients and mix for 30 seconds or until its nice and whipped. Transfer to a serving bowl.

Toasted Walnuts

  • Pour nuts on a baking sheet. Toast in the oven on broil for 5 minutes, toss, then cook for another 5. Keep a watch on them so they don't burn! Take out once they are golden brown.

Assembly

  • Plate the pasta in the center of plate. Spoon a dollop of whipped ricotta in the middle. Sprinkle with toasted nuts and fresh parsley.
  • ENJOY!
Keyword pasta, pepper, ricotta, savory, sweet

Filed Under: Dinner

  • Newer Entries
  • 1
  • 2
  • 3
  • 4
  • Previous Entries

Recent Posts

  • Southern Pecan Pie
  • Brown Butter Apple Pie
  • Key Lime Pie
  • Fool Proof Flaky Pie Crust
  • Pumpkin Chocolate Chip Cake with Cheesecake Filling and Cream Cheese Buttercream

Categories

  • Appetizers
  • Breakfast
  • Brunch
  • Dessert
  • Dinner
  • Lunch
  • Soups & Salads
  • Uncategorized

WELCOME

WELCOME

Whether you're here to book a class, make an order, or find the perfect recipe, WELCOME! Colie's kitchen is based on love and friendships old and new. Pull up a chair, put on your apron, and let's get cooking!

FOLLOW ME

  • Instagram
  • Pinterest

CATEGORIES

  • Appetizers
  • Breakfast
  • Brunch
  • Dessert
  • Dinner
  • Lunch
  • Soups & Salads
  • Uncategorized

GET UPDATES

Enter your email to receive new recipes and tips!

Follow on Instagram

GET UPDATES

Enter your email to receive new recipes and tips!

  • Email
  • Instagram
  • Pinterest

COPYRIGHT © 2020. Emma Theme by Lovely Confetti · DMCA.com Protection Status

We use cookies on our website to give you the most relevant experience by remembering your preferences and repeat visits. By clicking “Accept”, you consent to the use of ALL the cookies.
Cookie settingsACCEPT
Privacy & Cookies Policy

Privacy Overview

This website uses cookies to improve your experience while you navigate through the website. Out of these, the cookies that are categorized as necessary are stored on your browser as they are essential for the working of basic functionalities of the website. We also use third-party cookies that help us analyze and understand how you use this website. These cookies will be stored in your browser only with your consent. You also have the option to opt-out of these cookies. But opting out of some of these cookies may affect your browsing experience.
Necessary
Always Enabled

Necessary cookies are absolutely essential for the website to function properly. This category only includes cookies that ensures basic functionalities and security features of the website. These cookies do not store any personal information.

Non-necessary

Any cookies that may not be particularly necessary for the website to function and is used specifically to collect user personal data via analytics, ads, other embedded contents are termed as non-necessary cookies. It is mandatory to procure user consent prior to running these cookies on your website.